
$99 Includes Cartridge, Book, 3 coordinating D size Stamp Sets and 3 sheets of coordinating chipboard. (manual images below)
When you Pre-Order your new Artbooking Cricut Collection I'll give you FREE SHIPPING and FREE TAXES! (US only) In addition, I'll send you a copy of the brand new Idea Book EARLY after you place your pre-order. When you find more must-haves, you can add to your order by contacting me before August 1st and if your order totals $150 or more, you'll receive Hostess Rewards to boot! Everything will ship together on August 1st! So, if you are interested, send me an email with your shipping information and contact information! Send to maria_woodworth@yahoo.com
Ready to Pre-Order?
Pre-orders will be taken through the end of July and placed on August 1st. They'll be shipped directly to your doorstep from our corporate warehouse and you won't have to worry about a thing!
Your Pre-Order also makes you eligible for the August Stamp of the Month for just $5 extra - its a fun chocolate themed set at a delicious price for you!

"A Chocolate Affair" August Stamp of the Month for just $5!
You all know how much I love my two CTMH Cricut Cartridges - they live in my machine and I literally use them every time I craft. Well, CTMH has done it again and given us ANOTHER fabulous cartridge called Artbooking and this one just blows me away!
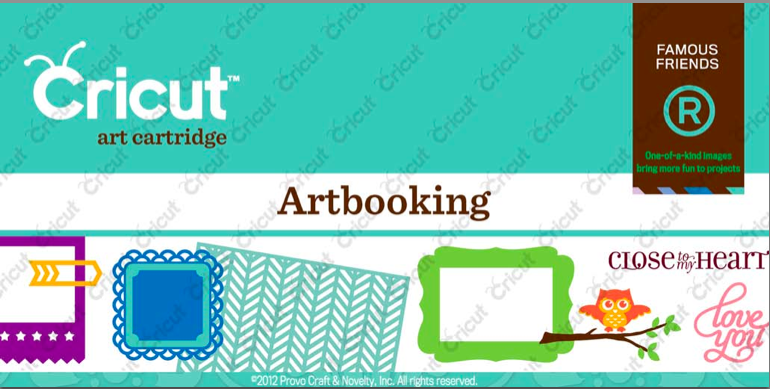


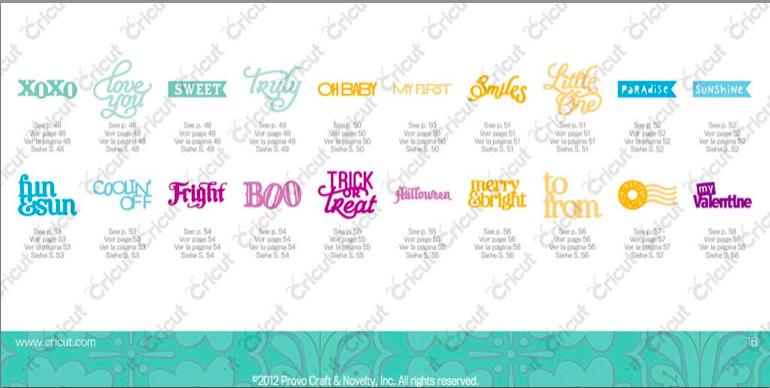
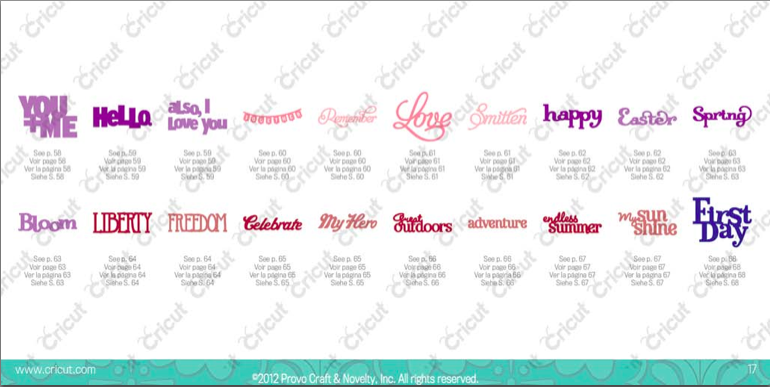
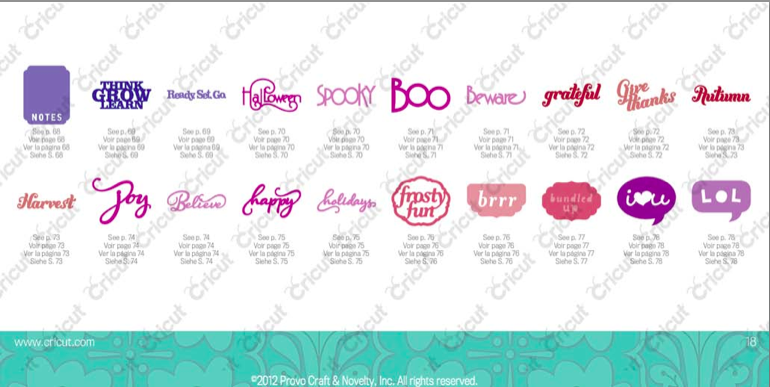
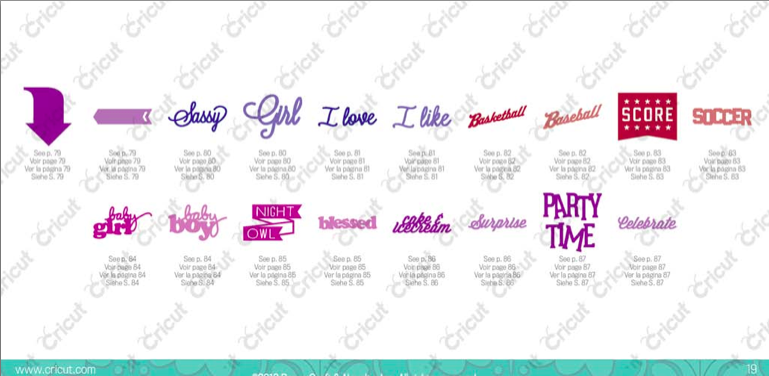
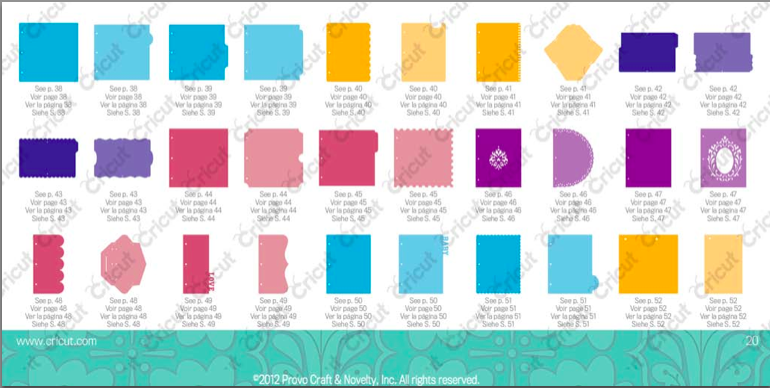
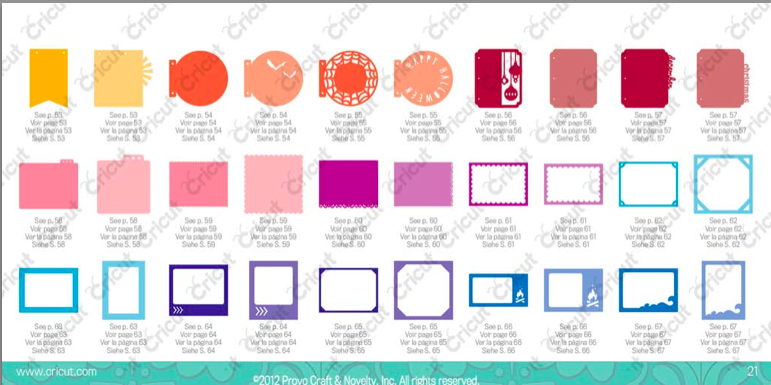


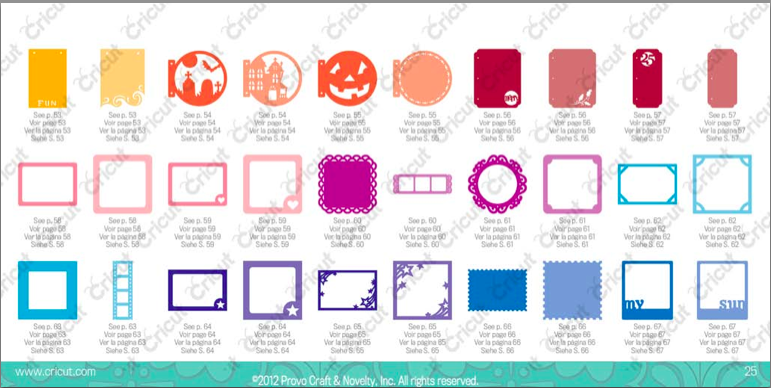

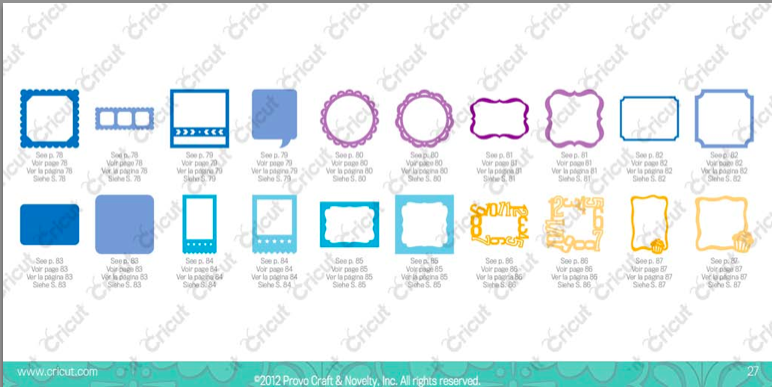
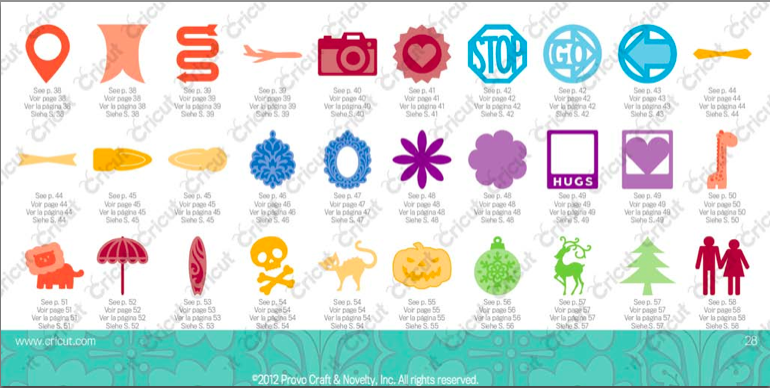


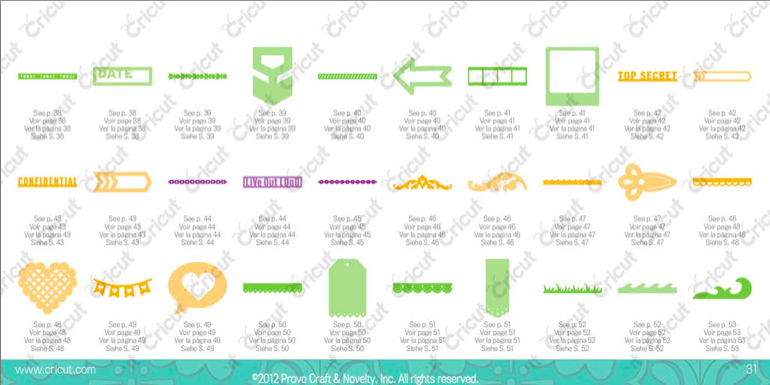

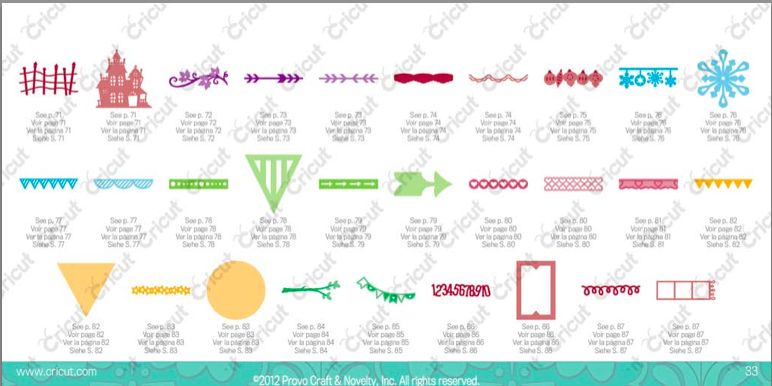
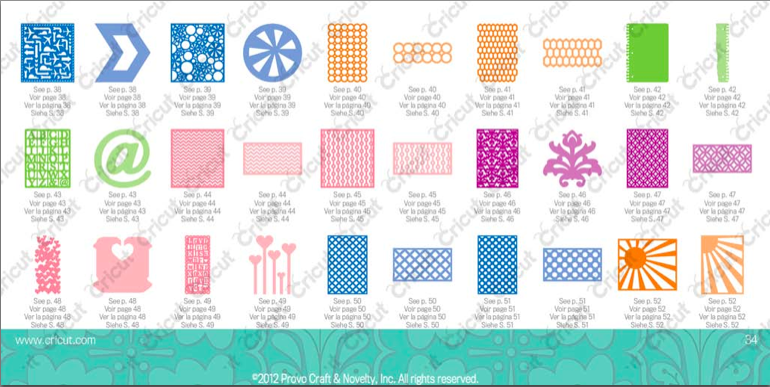

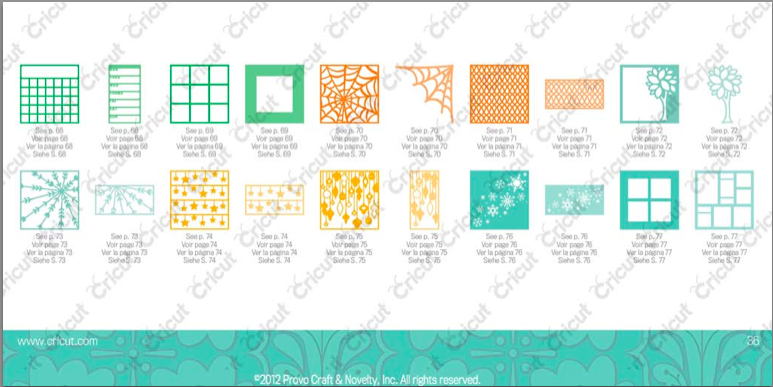
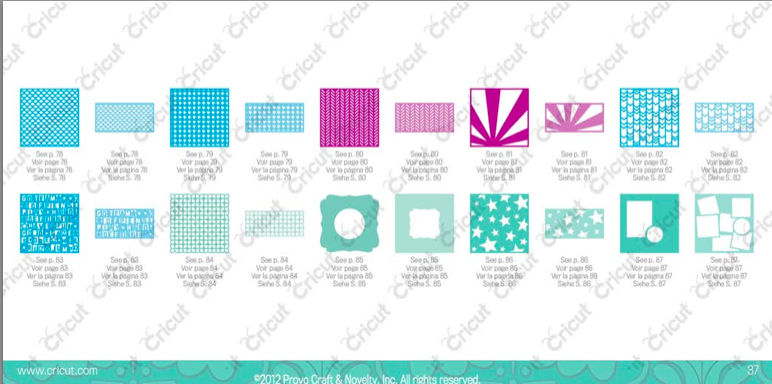


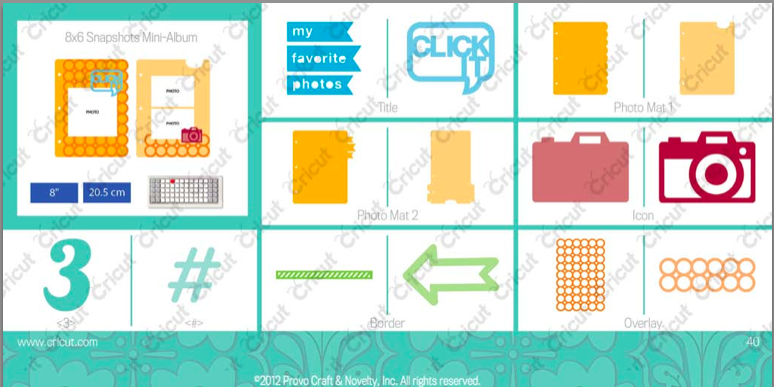


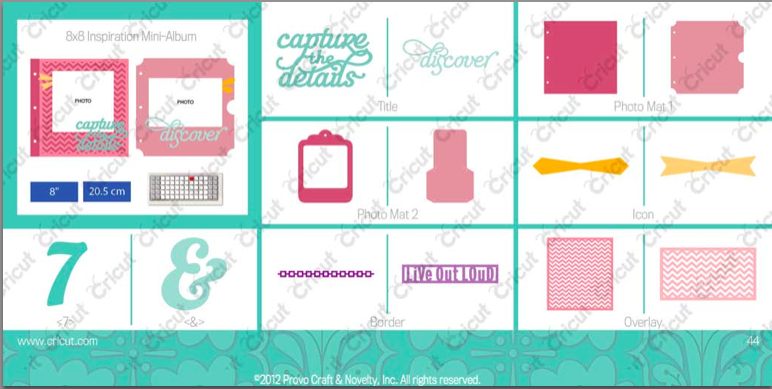


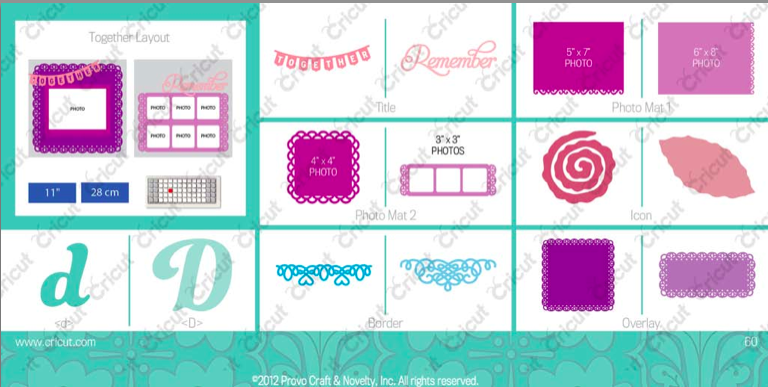


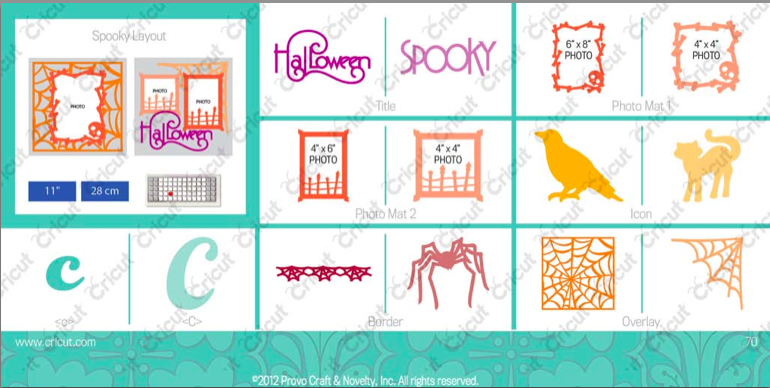


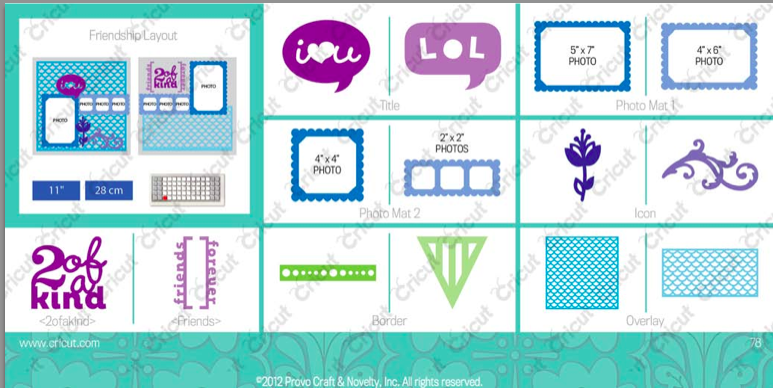


Artbooking is packed with 700 different cuts:
- 30 Themed DOUBLE Page Layouts (total of 60 layouts) all size coordinated
- 10 Themed Mini Albums (8x8, 6x6, 5x7) with minimum 8 pages each
- Full page and partial page overlays (square and rectangles of each overlay) which can also be used as stencils for inking or misting
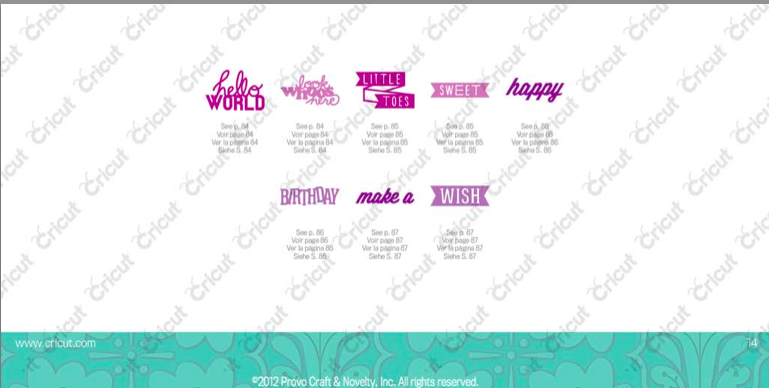
- Loads of phrases
- Themed accessory images
- Themed and decorated photo mats
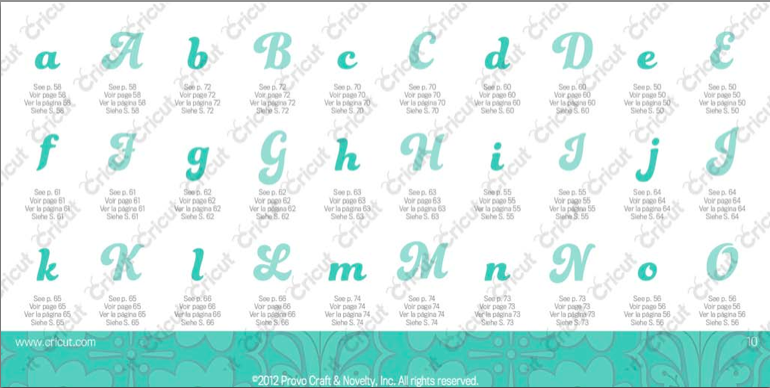
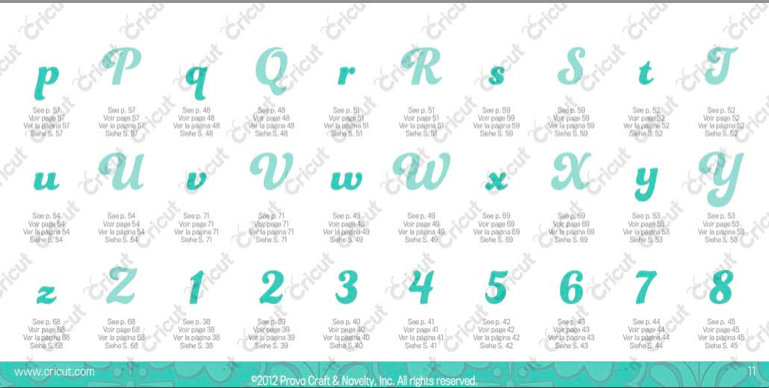
- Font
- So much you won't believe your eyes!
And if you say to yourself, well this one isn't for me because I mostly do cards, gifts or home decor then think again because ALL of it can be re-sized and used as pieces for any kind of papercrafting project! Its got everything from a sweet little giraffee to a man and woman outline shape holding hands and the most adorable snowman I've ever seen!
Orders will be going in on August 1st release date and I'll have preview projects during July once I get my hot little hands on this baby!
Orders will be going in on August 1st release date and I'll have preview projects during July once I get my hot little hands on this baby!
(Thanks Paige Doleki for all of the great photos!)